March is here! Last week we were filming more McGoo U content in Kansas City, so I’m sorry I’m a little behind. The Easter bunny is going to try to sneak up on us in early April, so I thought we would decorate an Easter project this month to get a jump on him. I made this dapper gentleman last Easter and he was so fun I decided to show you all the details in how I put MEaster Bunny together. Some awesome guest students joined me in the kitchen. Cami SanRomani of Cami’s Cake Co, Angela Spears of Icings by Ang, and Laura Ewing of Cadillac Cookies decorated the day away with me. It was fabulous!
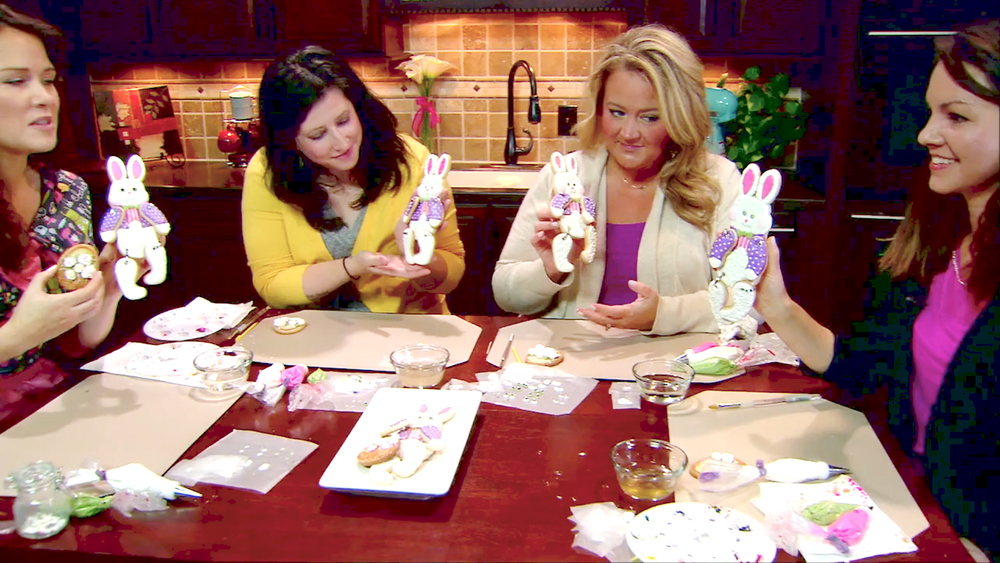
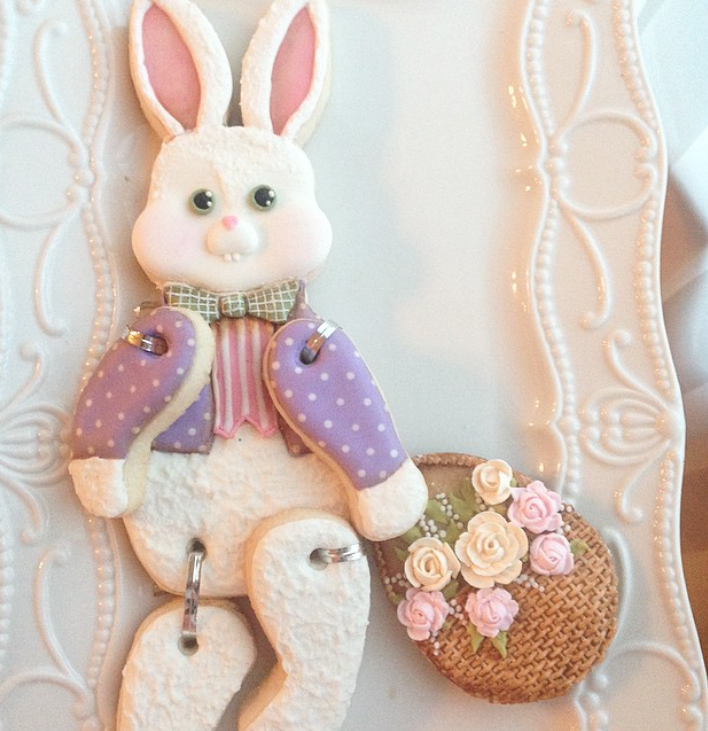
This month we decorate 6 cookies, but 5 of them get connected together to become a hinged Mr. Easter Bunny carrying the sixth cookie which is a basket overflowing with roses. He would make a magical addition to anyone’s Easter basket. While I hand cut each of those bunny parts, Bobbi of Bobbi’s Cookies and Cutters was so kind as to make him into a beautiful cutter that can do all the work for you. If you still have a hankering to hand cut all these parts, you can always use this template.
Our very eggcellent guest this month was Stephanie Kappel of The Hungry Hippopotamus. Stephanie introduces us to her digital projector and how it does all the work of a kopykake, but is less than half the size and you don’t even have to print anything out! She is known for her precision and eye for detail and she teaches us some tips and tricks on how she gets her beautiful results on her Pysanky Ukranian egg design. She also shows how to alternatively go “old school” using tissue paper transfers. She offers eggtremely good advice! (Expert Lab) We sat down and chatted with Stephanie in Mixing It Up. We’ve heard of crazy cat ladies, but she told us about how she is a crazy hippopotamus lady! and we’re so excited she will be teaching some special Pre-Cookie Con classes this September. After School Stephanie and I get real with a COOKIER meme in action. What my customers think I do, What my kids think I do, What my husband WISHES I do, and What I really do. We had way too much fun together and I hope you enjoy watching.
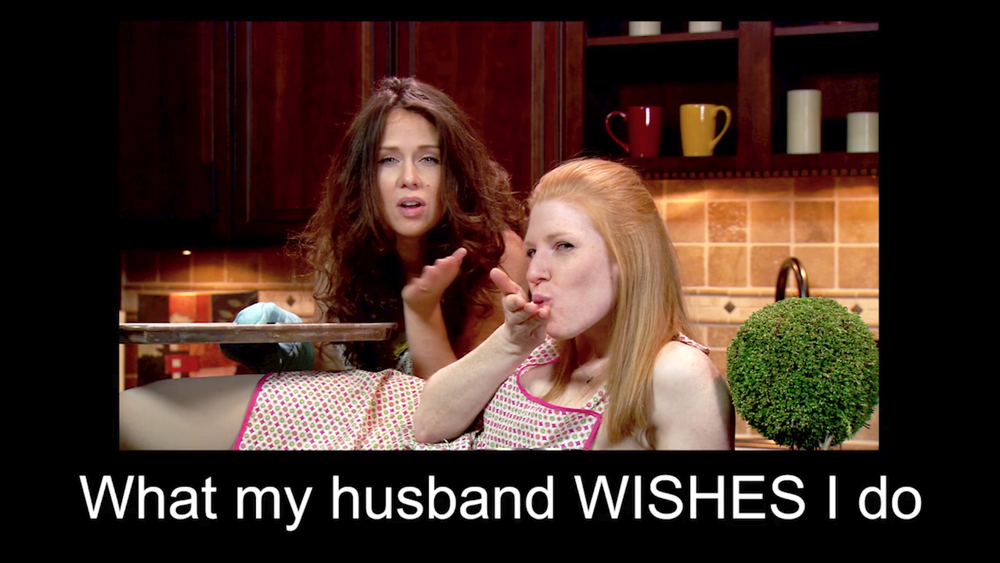
The Easter Bunny is so fun to decorate and I hope you enjoy creating along with us. Each one will come out with a different personality and there are so many ways you can personalize them, from their clothes to the color of his eyes. Have fun with him and I would love to see how yours comes out! Thank you so much to my fabulous fellow decorators Laura, Cami, and Angela for creating with me! And thank you to Stephanie Kappel for being fearless and absolutely hilarious. The meme idea kept evolving until we ended up in our “nude suits” and aprons and I have to say: I hope that blooper reel is destroyed! ha ha
All of the segments can be viewed as a show, but the McGoo U in particular is meant to be a class experience that you can cookie right along with. So, if you’d like to cookie with me, here is what you will need for this month’s McGoo U:
McGoo U March Supply List
- Bunny body, 2 bunny arms (mirror image), 2 bunny legs (mirror image), and an egg (size shown is 2″x3″) Bunny cutter available through Bobbi’s Cookies and Cutters or hand-cut using this template.
- Royal Icing
- 5 Piping bags (optional closure of your choice)
- couplers & rings (optional)
- 5: #1.5 or #1 tips (I used 2 tipless bags instead for green and black)
- 1: #2 tips
- 2: #101 or 59S tips (or 102- will make larger flowers)
- wax or parchment paper for facial detail transfers
- 1″ x 1″ squares of wax paper for piping roses
- flower nail
- 4 twist ties
- Paint palette with brown food coloring
- boo boo stick
- Parchment or wax paper
- Filbert paintbrush
- toothpicks or scribe tool
- cup of water
- paper towel

Prepare:
- Fill one piping bag with white royal icing of piping consistency, coupler, and a #1 or 1.5 tip
- Fill one piping bag with flood-consistency white royal icing, coupler, and #2 tip (I use about a 12 count thickness)
- Fill one piping bag with flood-consistency lavender royal icing, coupler, and #1 or #1.5 tip
- Fill one piping bag with flood-consistency pink royal icing, coupler, and #1 or #1.5 tip
- Fill one piping bag with thick flood-consistency green royal icing, coupler, and #1 or #1.5 tip or tipless bag cut with small opening (I used Wilton Juniper + Americolor Electric Green)
- Fill one piping bag with thick flood-consistency black royal icing, coupler, and #1 or #1.5 tip or tipless bag
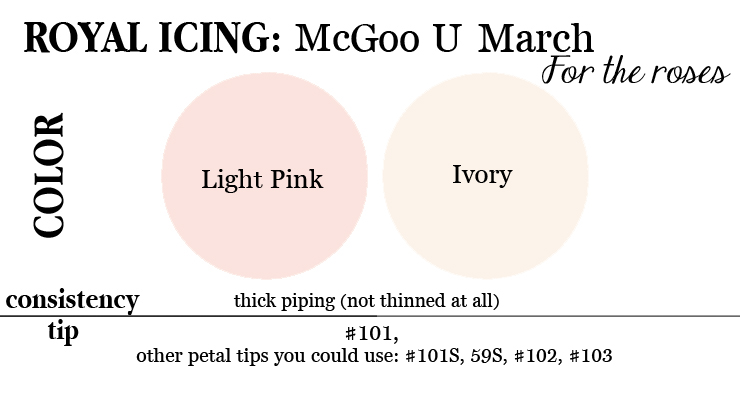
- Fill one piping bag with light pink royal icing of piping consistency, (not thinned at all) coupler, and a #101 tip
- Fill one piping bag with ivory royal icing of piping consistency, (not thinned at all) coupler, and a #101 tip
A lot of these supplies can be modified to your preferences. If you use tipless bags, you can forgo the tips entirely (except for the petal tips) or you can choose to use different food colorings. (Click here for a detailed guide to setting up your palette) I always appreciate when people make things their own and let their own creativity be their guide. I’d love to see your creations! This is all about having fun and not stressing. Happy cookie-ying!
Elisabeth!
Many,many thanks for sharing your amazing creativity and your passion with us. I am one of the McGoo U students and can only say it is the best investment I could have done.
I am learning so much from you and your cookie feallows ( you all are great!)while having so much fun!!!!
I just wanted to say thank U,and to encourage you to to keep creating,enjoying,and inspiring so many people around the world,you are AMAZING!
Adriana(mimamamendulza)