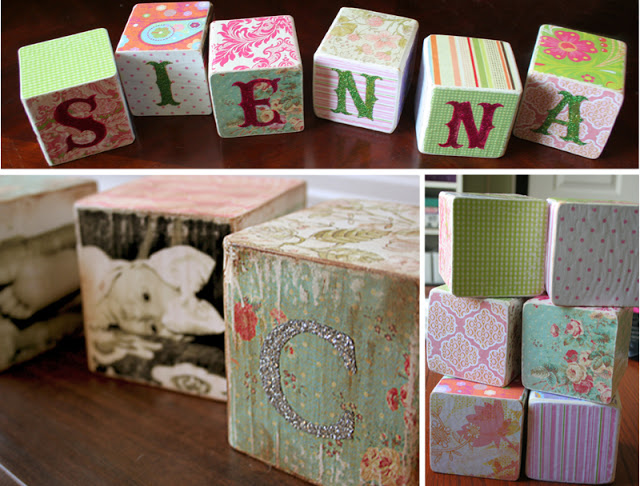
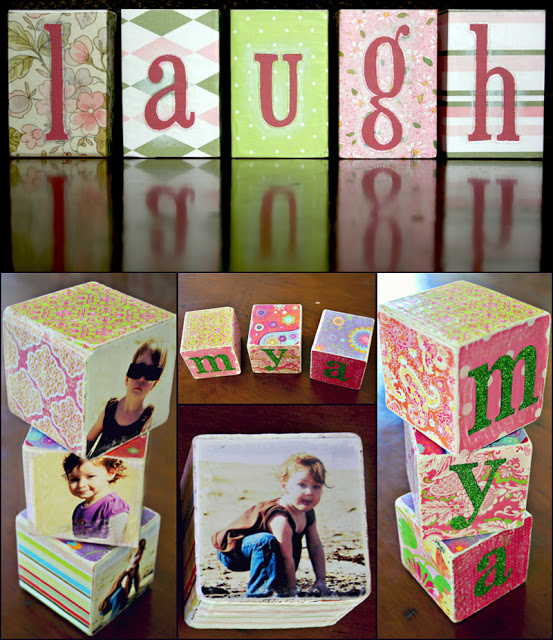
My favorite place to get blocks is at a hardware store. I buy long lengths of fencing material and have Mr. John cut blocks for me. You can make them any size and you can even do rectangular blocks {I have an example of those at the end}.
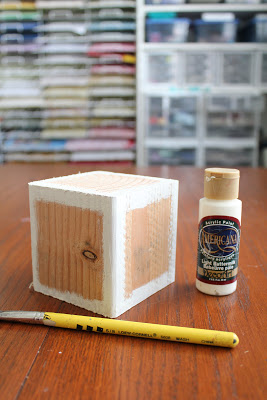
1. Paint each edge of the block
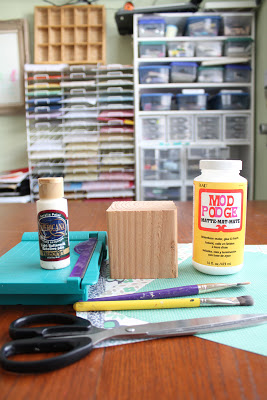
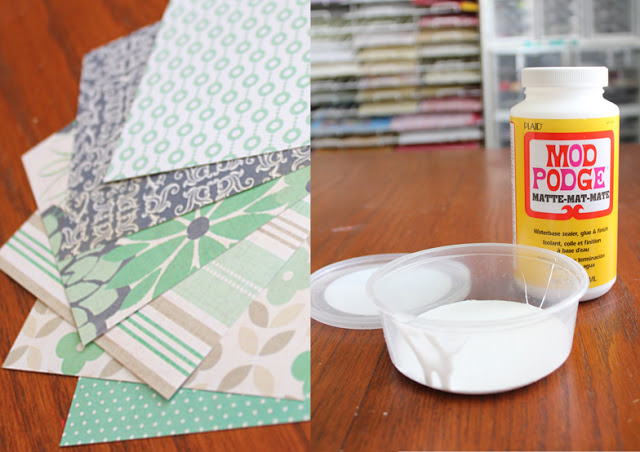
2. Cut coordinating paper into squares {6} to fit the sides of your blocks. In this case I cut them all 3 1/2″
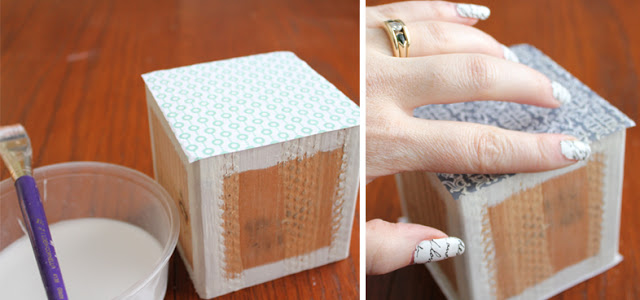
3. Pour some mod podge into a lidded container that you fished out of the recycle bin. That way, just in case you get interrupted you can close that puppy up and you won’t come back to a pool of dried mod podge.
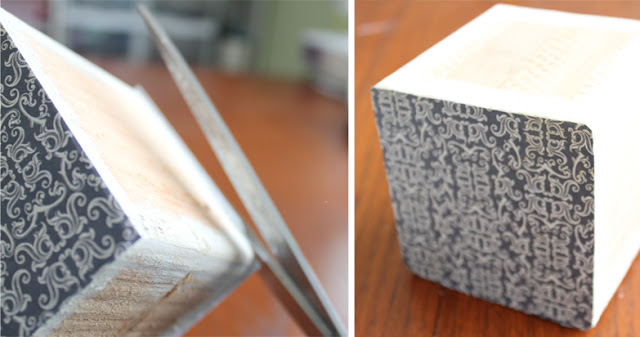
6. Take a scissor and using the block edge as a guide closely trim the paper to fit. {don’t worry if it’s not perfect; the edges are getting sanded}
7. Alternate sides until all sides of the block are covered.
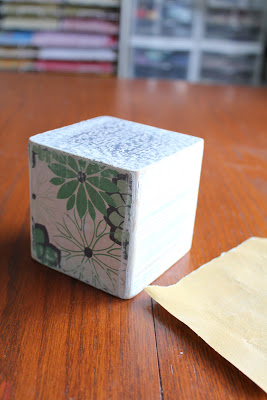
8. Let dry and then sand the edges. You can do a lot or a little depending on the look you want.
9. Paint on another layer of mod podge over the whole block and let dry.
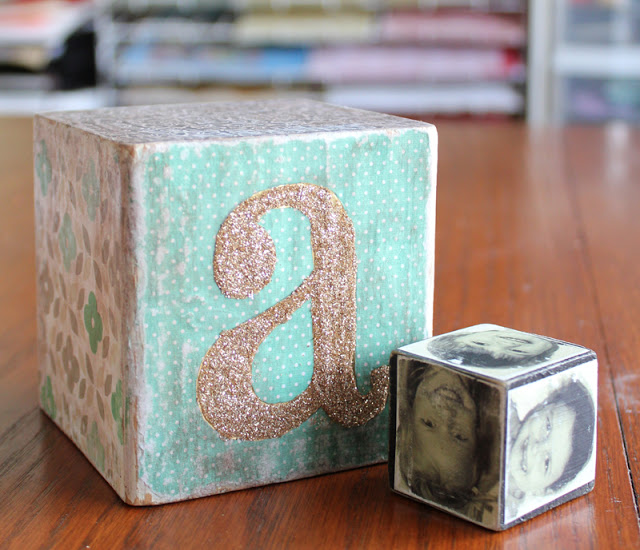
Here is where you decide if you’re done with the aging process. The initial sanding gives an edge-worn look to the blocks and the next step of antiquing gives it a well-used aged look.
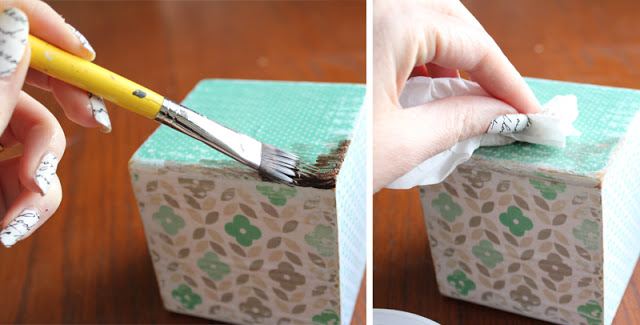
10. Paint on an antiquing gel. There are several kinds but here is one that is very intriguing: this antiquing medium from DecoArt that you can mix with any color. Very cool because you can decide if you want to antique with brown, black or give it a pickled look by mixing the medium with white! I used a brown antiquing gel that I’ve had for a hundred years. They don’t make it anymore… I’ve looked : (
11. Rub off as much or as little antiquing as you prefer.
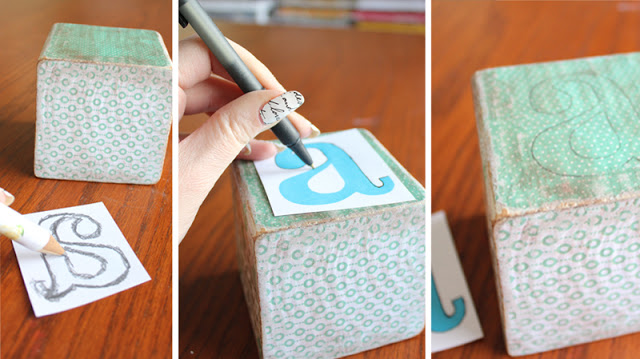
12. Print a monogram out on paper in desired size and font.
13. Turn over to the backside of the paper and trace the letter with pencil leaving lots of graphite.
14. Place the monogram onto the block and trace the letter, pushing with a ball point pen to transfer the graphite onto the block.
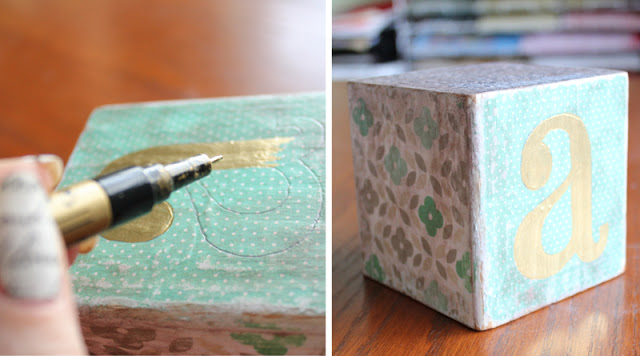
15. Paint or pen the outlined letter in.
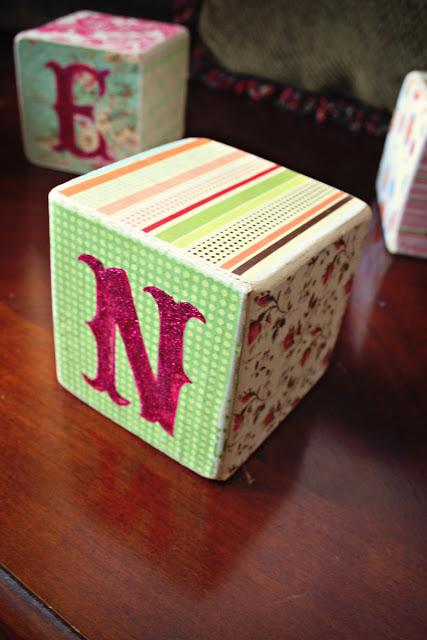
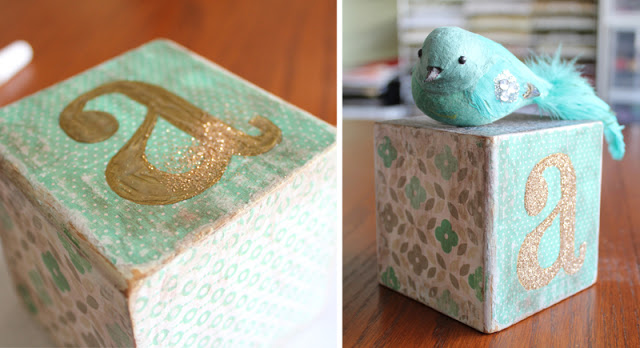
16. Cover the painted area with glue and sprinkle with glitter.
17. Enjoy!
I love making these blocks because the possibilities are endless!
I hope this all makes sense! I’m still planning on doing a “family” set and would love to see what you come up with! You can always email me at artymcgoo@yahoo.com


Those are super cute! You are so creative!
so cute!~
Love this idea so much Elizabeth – thanks for sharing!!!
So pretty love it
Fabulous tutorial(just now found out about antiquing gel)with endless possibilities! Love what you have made so far and looking forward to seeing your family blocks!
Love the blocks!!! The set you made for my neice Mya are treasured!!! So enjoy all of your posts!!!
Such a fun and clever idea. Three things I love are, fun, easy and low cost plus the added bonus of multiple uses for them. With several coats of Mod Podge, you could even use fabric scraps to match any decor. Another winning idea Liz!